 |
| Drawstring bags using some of my illustrations |
 |
| Details of the duckling design |
 |
| Reverse side of the duckling bag |
 |
| Close up of panda bag. |
 |
| Dachshund drawstring bag |
I would like to show you how to make the dachshund drawstring bag shown here on your left.
I am going to show you how I print onto fabric using a computer printer - but please note, if you would like to do this, you are doing this at your own risk!
All of the illustrations you see here are available to buy through the Three Bears Prints Etsy shop. Here's the link to my shop:
Three Bears Prints Etsy Shop
Three Bears Prints Etsy Shop
 |
| 1. Spray mount onto card. |
1. First of all, you will need to work out your design and the measurements for your bag. I use Photoshop.
I used Photoshop to come up with an oblong dachshund design measuring 16cm x 48cm. The measurements of my canvas was 26 x 64cm so that I had lots of space for seam allowances.
I cut a piece of card measuring 26 x 64cm. (I am lucky enough to have a printer which can up to 32 x 67cm.)
I put newsprint down to protect my table, and applied spray mount to the whole of the piece of card.
 |
| 2. Smooth fabric over sticky card. |
2. Cut your fabric (and use fabric which is fairly thin) a little bigger than your card. Iron it then carefully smooth it over the card.
 |
| 4. Perfectly smooth surface. |
 |
| 3. Trim fabric. |
3. Use a metal rule and very sharp craft knife to trim the fabric.
4. This produces a flat, perfectly trimmed surface on which to print.
5. You can now print your design. Make sure you set up the print options correctly - so for me, I have to choose custom print and put in the size of the card, and set it to 'high quality' printing.
Depending on what I'm printing, I will also increase the contrast, and decrease the brightness of a design, to compensate for the light fabric.
Carefully feed the fabric cover card in, and watch it as it feeds through the printer, to make sure it doesn't jam.
 |
| 6. Close up of printed dachsies |
At this point, I would waterproof my fabric by spraying the same protector on them such as you would use to protect canvas bags and shoes.
I'm a fairly novice sewer, but drawstring bags are easy. I looked at this blog post for some instructions:
http://notesfromthekitchentable.com/2013/01/30/how-to-make-a-drawstring-bag/
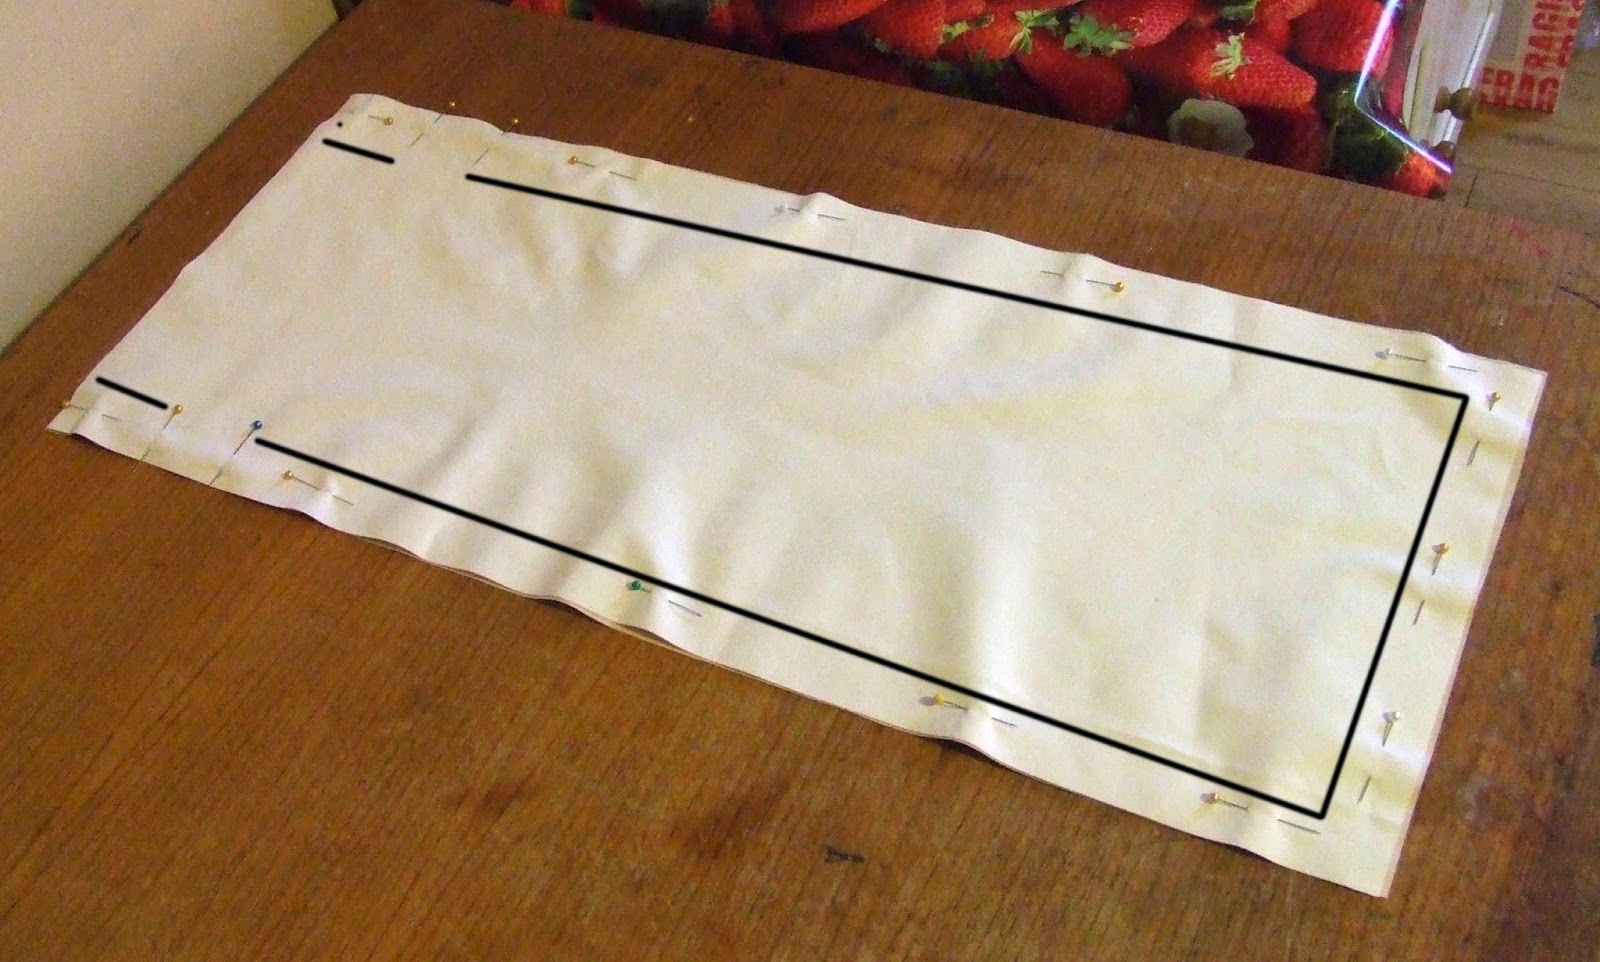
To summarise, you sew the edges, leaving a gap where the string (or in my case, ribbon) will go...
 |
| Sew round hole for string |
 |
| Sew the edges of the bag leaving gap for string |
...then you open up the edges and sew around the hole for the string...
 |
| Create channel for string |
 |
| Thread through string - or ribbon |
 |
| The finished dachshund drawstring bag! |

That looks great! Will add it to my crafty to do list!
ReplyDeleteThanks Alison! Feel free to use our printer if you'd rather not risk your own....
ReplyDelete